Build a defense before the tsunami
To stop the tsunami in Stop the Tsunami, prepare a continuous wall and supporting trenches before you press START ROUND. Start with the Spade to dig sand into a barrier, use the Shovel to open holes or trenches where they help contain water, and inspect the edges for low points. When the warning is over, the wave tests the entire defense rather than one central section, so a short side or an obvious gap can let water reach the town.
Your first-session target is not to build the biggest possible structure. It is to survive one complete multi-wave round, collect the Coins awarded for holding back the water, and use that progress to prepare for the next beach stage. The game begins with smaller waves, but clearing a stage pulls the sea back, widens the beach, and leads to larger waves. Treat every successful round as preparation for a stronger test rather than proof that the same wall will always work.
How rounds move from beach to breach
Waves follow a wave-based session structure. You build during the preparation period, then manually start the challenge with START ROUND. The sea advances toward the town, the wall and trenches interact with the incoming water, and the round may continue with another wave after the first impact. If the first impact exposes a weak flank, the wall guide gives the next repair step. Do not leave the area or dismantle a defense just because the first surge was stopped.
Stay ready for additional tsunami waves
This moment supports the round flow described here: a larger wave starts the round, additional waves arrive, and a large wall continues to block them.
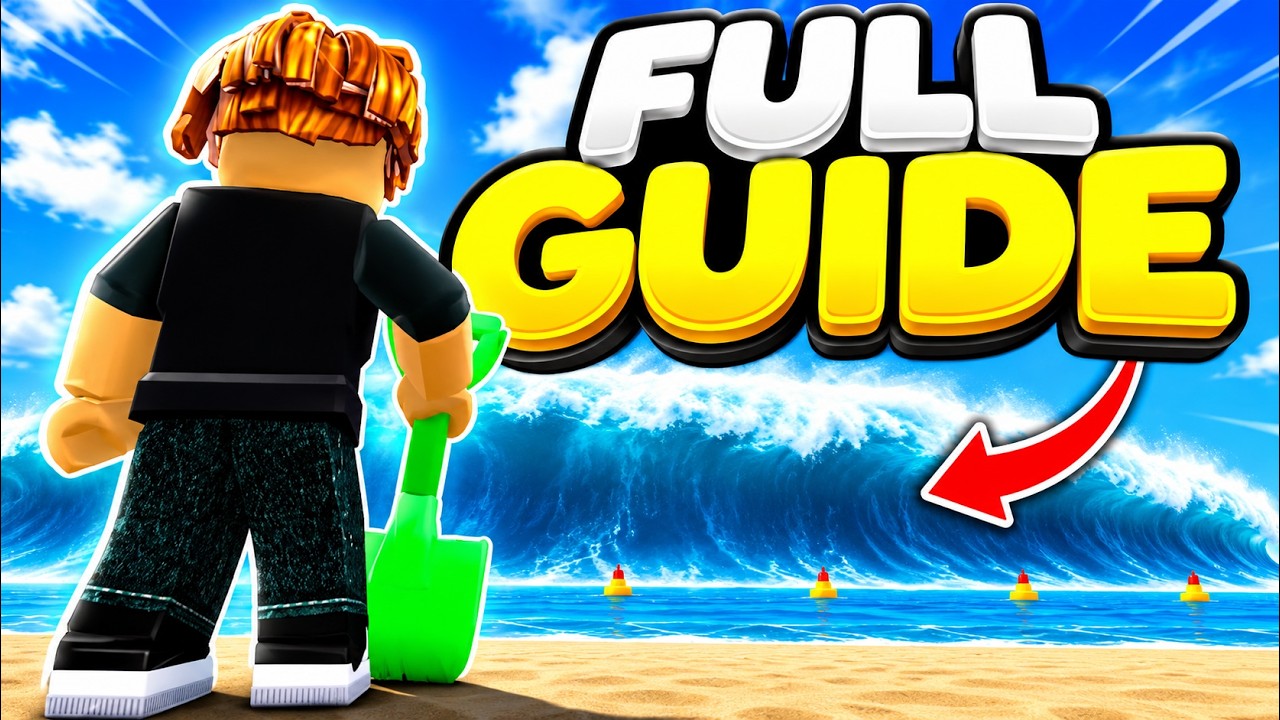
A successful defense creates two kinds of progress. In the immediate state, the water is held back and the round can continue until its later waves are resolved. In the longer progression, surviving waves pays Coins, which support better tools, machines, and materials. After a stage is cleared, the beach becomes wider while the waves become more demanding. That change gives you room to build, but it also raises the standard your next defense must meet.
The game offers Easy, Medium, and Hard modes, but the supplied game description does not give fixed wave heights, speeds, damage values, or reward differences for those modes. Use the selected mode as a challenge setting, not as a reason to assume a particular wall height or wave count. Likewise, Rainbow, Blood Moon, and dragon-like waves are listed as variants, but their exact special effects and trigger rules are not established here.
Walls, trenches, and the tools that support them
These are the elements to understand before your first serious round:
- Walls: A wall is the primary barrier between the water and the town. Height matters, but so do continuity and the outer edges. Build a connected line and patch low sections instead of making one tall mound with open sides.
- Trenches: A trench or hole gives water another place to collect or a route to be disrupted. It is a secondary defense, not a substitute for a continuous wall. Place it near the threatened side while keeping the main barrier intact.
- Spade: The
Spadeis the early building tool for digging sand and piling it into walls. Use it to make the first complete defense before spending time on elaborate shaping. - Shovel: The
Shovelsupports digging holes and trenches. Switch to it when a flat section needs a catchment area or when you need to reduce an opening in the defense layout. - Machines: The
Bulldozer,Skid Steer, excavators, andDump Truckmake digging, hauling, or expanding a defense faster. They become more useful as the beach widens and the wave threat increases; the exact unlock costs are not specified. - Materials: Early construction uses sand, while later progression can include wood, ice, black stone, sandstone, gravel, boulders, clay, and concrete. Higher-stage materials are intended for larger defenses, but no durability table is confirmed, so do not treat one material as having a guaranteed wave rating.
- Coins: Coins are the round reward and the resource for upgrading tools, machines, and construction options. Spend them to improve the preparation you can complete before the next wave rather than assuming a reward total that is not shown.
- Round controls and modes:
START ROUNDturns preparation into an active test, while Easy, Medium, and Hard set the available challenge choices. Check the current in-game panel for any mode-specific details before committing.
Use trenches to contain tsunami water
This moment supports the trench guidance: ground holes can trap tsunami water while a continuous wall remains the main defense.

Your first complete wall run
- Survey the beach. Before touching
START ROUND, look along the entire town-facing edge. Identify the center, both ends, low ground, and any holes that could create a route around the wall. This is your first checkpoint: you should be able to describe one continuous defense line. - Raise the main sand wall. Use the
Spadeto pile sand into a connected barrier. Keep the line broad enough to avoid isolated thin spots, and extend it farther than the area directly in front of you so the wave cannot simply go around one end. - Close the edges and low sections. Walk the full line again. Add material to corners, short ends, and visible dips. A wall that looks strong in the middle is not ready if its edge remains open. This is the preparation checkpoint.
- Add a trench or catchment area. Use the
Shovelto dig a hole or trench behind or near the threatened side where it can help trap water. Keep the main wall continuous; the trench is a second layer that supports the barrier rather than replacing it. - Choose the round setting. Select the intended Easy, Medium, or Hard mode if the game presents that choice, then make one final pass for gaps. The known mode names do not establish their numeric differences, so judge readiness from the current defense and the mode shown in the game.
- Press
START ROUND. Starting the round commits the defense to the incoming water. Watch the first impact instead of immediately rebuilding, and note whether the wall holds, leaks at an edge, or lets water route through a trench. - Stay through the next warning. A first stopped wave is not necessarily the end. The same round can bring another wave, and later waves can be larger or more difficult. Keep checking the wall rather than treating the first calm moment as the completion checkpoint.
- Patch the revealed weakness when possible. If a section is described by what you see as too thin, reinforce it before the next impact. Prioritize the breach path and the side edges; do not spend the remaining preparation time making an already safe center taller.
- Confirm the round result and reinvest. Only treat the round as complete after the later wave activity has ended and the game confirms survival. Collect the Coins, then improve the tool, machine, or material that will let you prepare a more complete defense for the wider beach and stronger next stage.
Priorities when the wall fails
Use this order when preparation time or Coins are limited:
- Close the full wall line, including both ends.
- Repair the lowest or thinnest section before decorating or enlarging the center.
- Add a trench only after the main barrier is continuous.
- Upgrade digging and hauling speed when the beach or defense is too large to prepare by hand.
- Move to stronger or later-stage materials as the game makes them available, while checking the current result rather than relying on an assumed durability value.
- The wave goes around the wall: Extend both ends and connect them to the rest of the line. A taller center does not solve an open side.
- Water gets through the middle: Fill the low or thin segment, then use a trench as backup. Do not count a hole as the main barrier.
- The first wave stops but another arrives: Keep the round active and inspect the defense again. A calm interval is not the same as a successful completion.
- You cannot prepare a wide beach in time: Use Coins on a machine that improves digging, hauling, or construction speed, then simplify the shape and prioritize a continuous line.
- A special wave appears: Reinforce the section that looks most exposed, but do not assume an unconfirmed multiplier, trigger condition, or special attack. Use the current wave presentation and the wall’s observed weak point.
- You are unsure whether the stage is finished: Wait for the game’s survival or stage-clear result. A retreating sea and wider beach indicate progression, not that future waves have ended.
Stop the Tsunami waves FAQ
How do you stop the tsunami in Stop the Tsunami?
Build a continuous wall before pressing START ROUND, close both edges and low sections, then add a trench as a secondary defense. Stay through later waves because one stopped wave does not necessarily end the round.
What should you do before pressing START ROUND?
Use the Spade to build the main sand wall, check the entire line for gaps, and use the Shovel to add a useful hole or trench. Make sure the edges are covered before starting.
Do waves continue after the first wave is blocked?
Yes. Additional waves can arrive in the same round, so wait for the game’s survival or stage-clear result instead of assuming the first impact was the end.
What happens after clearing a stage?
The sea pulls back and the beach becomes wider, but later waves become bigger or more difficult. Use the wider area to prepare a stronger, more complete defense.